Canva is a design tool that helps create eye-catching projects for personal and professional use by allowing users to add text effects like curve, arc, or wavy styles to text. With both Canva Pro and the free version, you can manually adjust letters or use the feature to soften your message, make it more elegant, silly, or formal, and enhance readability for logos, social media posts, or any image.
This intuitive platform offers a step-by-step guide to explore elements, unlock new possibilities, and use curved designs to enliven the visual appeal of your projects, whether for graphic design or just to spark interest with a creative pattern.
I’ve been using Canva for years, and luckily, it’s applicable for beginners who want to become more familiar with its social features and go behind the basics for detailed results that fit any purpose.
Mastering How to Curve Text in Canva
1. Select Your Design Template
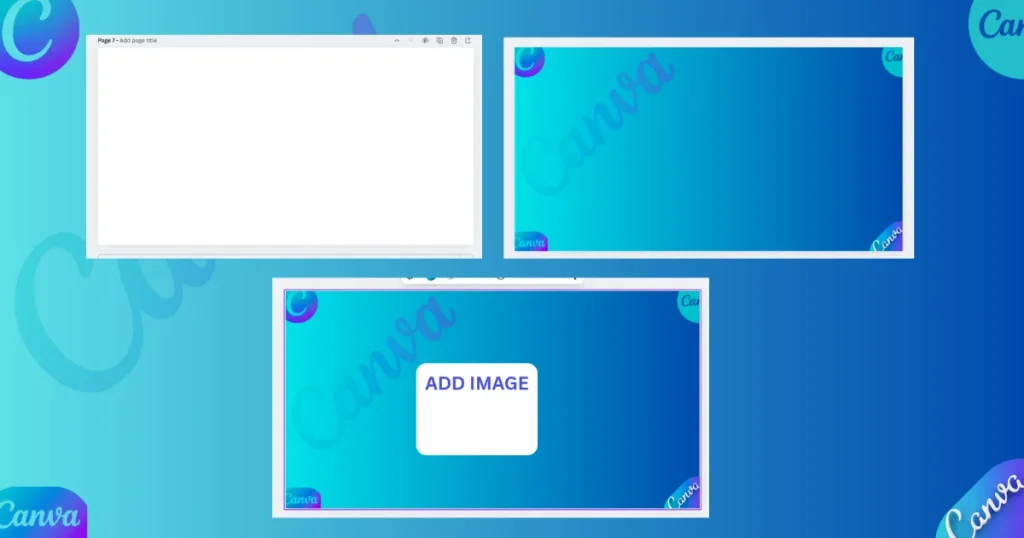
Open a fresh Canva document, pick your preferred template and design, choose the size, and add an image.
2. Add Your Text
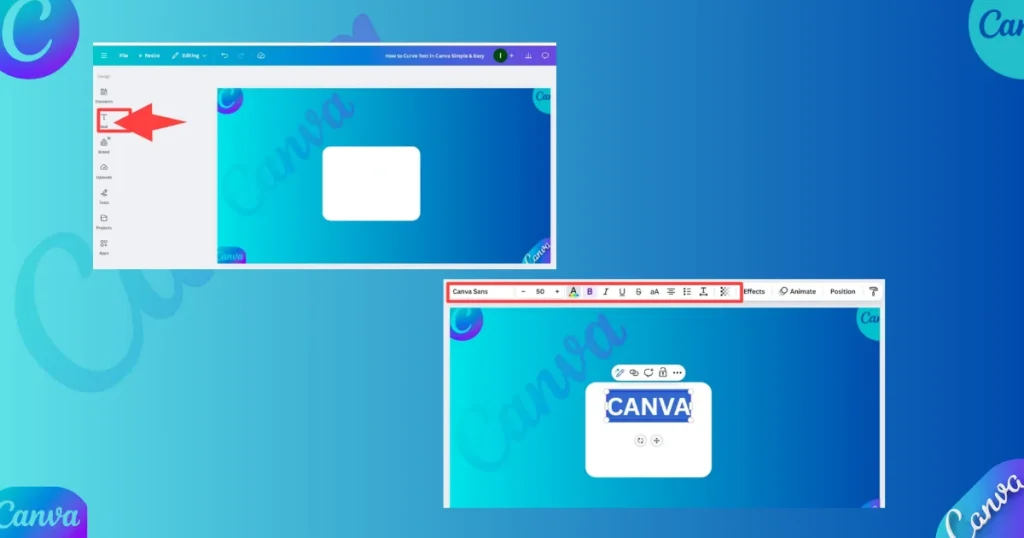
Click the text tool, type or paste your words in the box, choose fonts, upload a custom style, and adjust it to your desired curve.
3. Access the Effects Menu
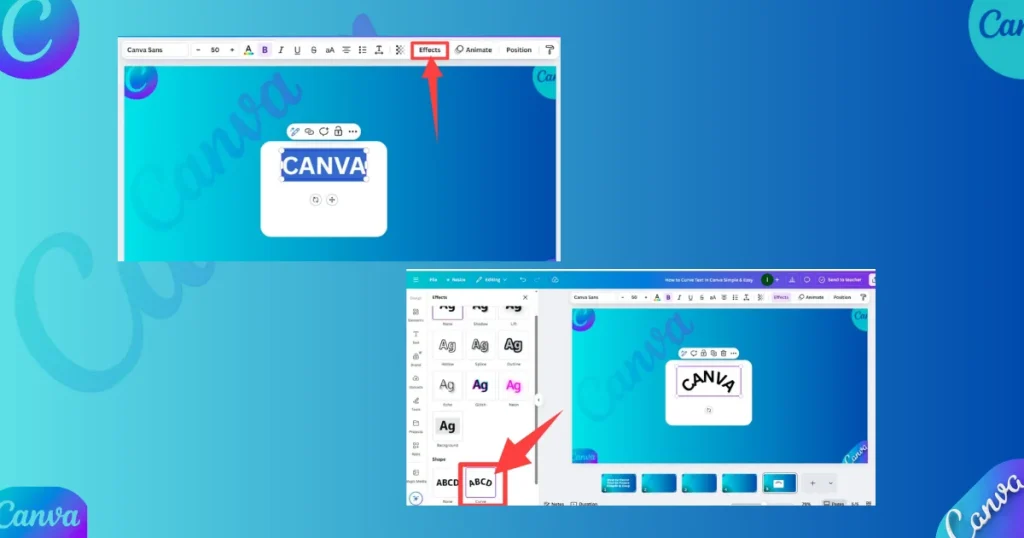
Highlight the text, go to the top bar, open the menu, then click the effects button.
4. Apply the Curve
Click the curve option from the effects panel, scroll to the bottom, find the perfect spot, use the slider for adjustment, and ensure you have access to apply it smoothly.
5. Adjust the Curve
Adjust the curve using the slider by sliding left or reverse the direction to create a circular or semi-circle shape, try setting it to 86, and reset to defaults if needed.
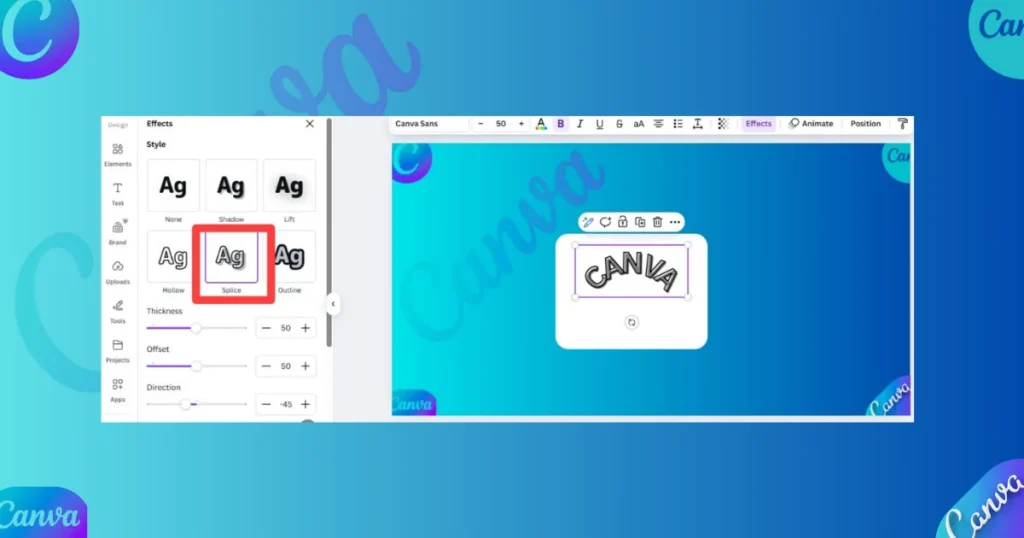
You can also layer additional effects from the same panel, like the ‘Splice’ option, to enhance your text.
Associate Curved Text with Elements
One of the most popular uses of curved text is to pair it with design elements. Circles are a natural choice, and Canva makes it simple to match the curve of your text to a circular element.
Add a Circle

Add a circle, choose from the Elements menu, resize it to fit your needs.
Position Your Text

To curve your text in Canva, use the slider to adjust the angle, then position and place it around a circle and fine-tune for perfect alignment.
Rotate for Precision
You can use the rotation tool to edit the text position around the circle. For example, you can align it to run along the right side by setting it at a 90-degree angle.
Play with Letter Spacing
Play with letter spacing by adjusting it to make the text stretch around a circle smoothly.
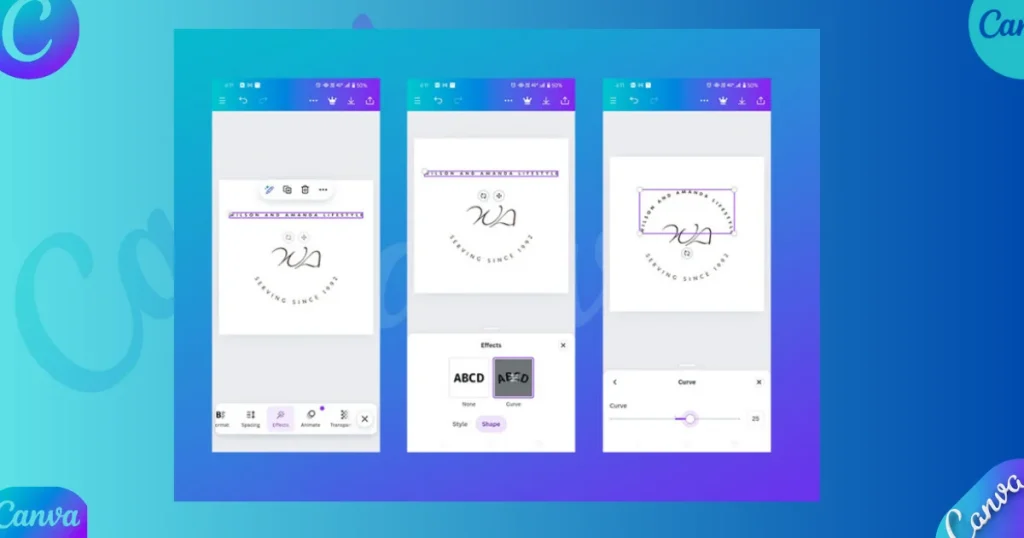
How to Curving Text in Canva’s Mobile App
Curving text on Canva’s mobile app follows a similar process:
1. Select Your Text
Open the Canva app, select your text, tap the purple button to access the menu, hit “Effects,” choose the curve tool from the options, and adjust as you want.
2. Find Effects
Scroll to the bottom, open the menu, find the Effects option, then tap, select, and adjust the shape of your curved text.
3. Follow the Steps
Follow these steps to curve your text by using the slider under Effects, which mirrors the desktop version to create your desired effect through a simple process.
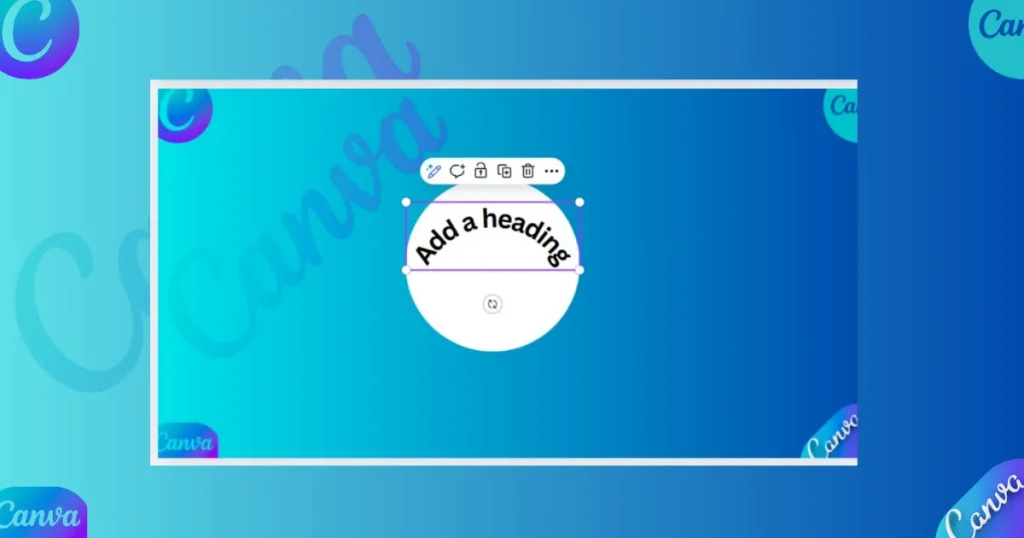
Crafting Multiple Curved Text Boxes
To create layered designs in Canva, start by using multiple text boxes and apply the curved effect to each text box separately. You can add a heading at the top and a subheading at the bottom, then adjust the curve and angles to mirror each other, forming a circle.
Use a different font for each to achieve a cohesive, stylish look, a technique that’s great for logos, taglines, or creating intricate planner stickers.
Example: Curved Text in Action
To create curved text in Canva, start by using the search bar to find templates that show examples of elegant designs like logos, Instagram posts, or a promo image. You can place text at the top or bottom of a central shape or frame, then wrap a longer string of words around it to make the entire layout look more stylish.
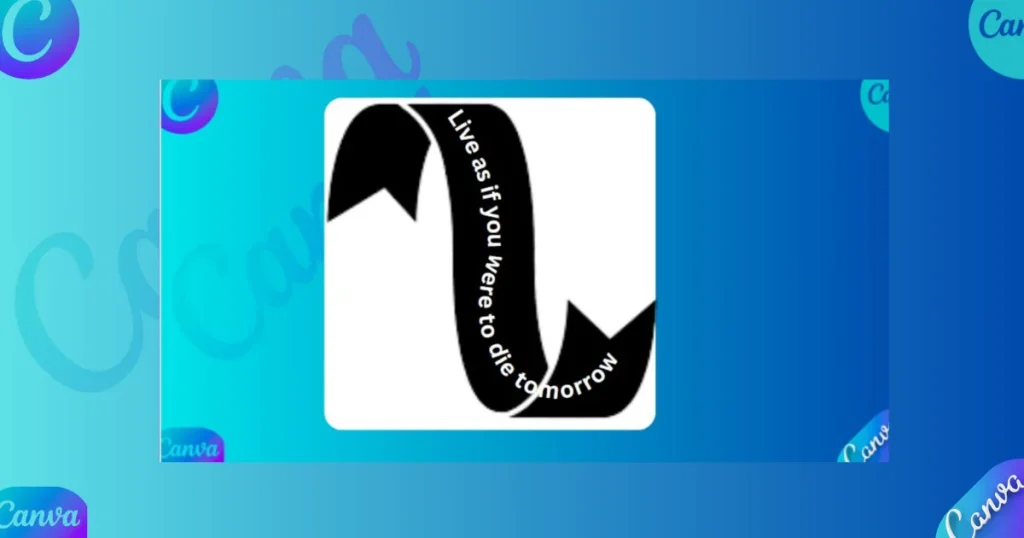
This method offers a wealth of design possibilities and uses, helping you discover countless ways to express your creativity and type ideas that spark others to feel inspired around the globe through a single image.
Stylish Curved Text Designs
Using Canva’s curved text feature, which is available in both free and Pro versions, you can infuse your designs with a sleek, organic feel using just a few simple clicks. This versatile tool helps elevate logos, social media graphics, and more to make them truly stand out and stop the scroll. Creating multiple curved text boxes allows you to arrange them creatively and enhance visual appeal.
Conclusion
Using Canva is an easy and effective method to create curved text that looks visually appealing and attractive. By experimenting with various styles, you can enhance your graphics, logos, and presentations, helping you consistently grow your online presence.
This perfect solution allows Storytellers and social media managers to boost engagement, manage accounts, and seamlessly integrate curve text into projects by following simple steps. With the platform’s tools, you can add creativity, style, and designs, making it a go-to tool for storytellers and management.
FAQs
How to fill color in Canva?
To fill an element in Canva with color, select the element, then click the color icon (usually a square with a rainbow or color gradient) in the toolbar. Choose from the suggested colors, or select “Add a new color” to pick a custom one, including gradients. You can also use the eyedropper tool to select a color from an existing element in your design.
How to curve an image in Canva?
To curve an image using frames in Canva, select your image, then navigate to the ‘Elements’ tab and choose ‘Frames’. Pick a frame that matches the desired curvature and insert your image, adjusting as needed to achieve the perfect curve.
